You need:
Shadow box
Mod Podge
Template ( this is the one I made from using a few different ones to determine the right size for me)
There are also many other free templates so you can find the size that works best for your project.
Printabletreats.com
Firstpallete.com
Lollychops.com
Cardstock paper for the butterfly
Scrapbook paper for the background
Thread ( I used Aurifil 50wt, anything heavier may tear the paper)
Scissors
Fabric scraps from your piles you have at home
Flat paintbrush
Optional
Alphabet stamps
Take the paper out of the back of the shadow box and trace onto your background. Cut it out and set it aside.
Cut the butterfly out. At this point I recommend erasing all the lines from tracing. It makes a mess but it is worth it.
with an inexpensive brush, paint a good layer of the Mod Podge onto the card stock
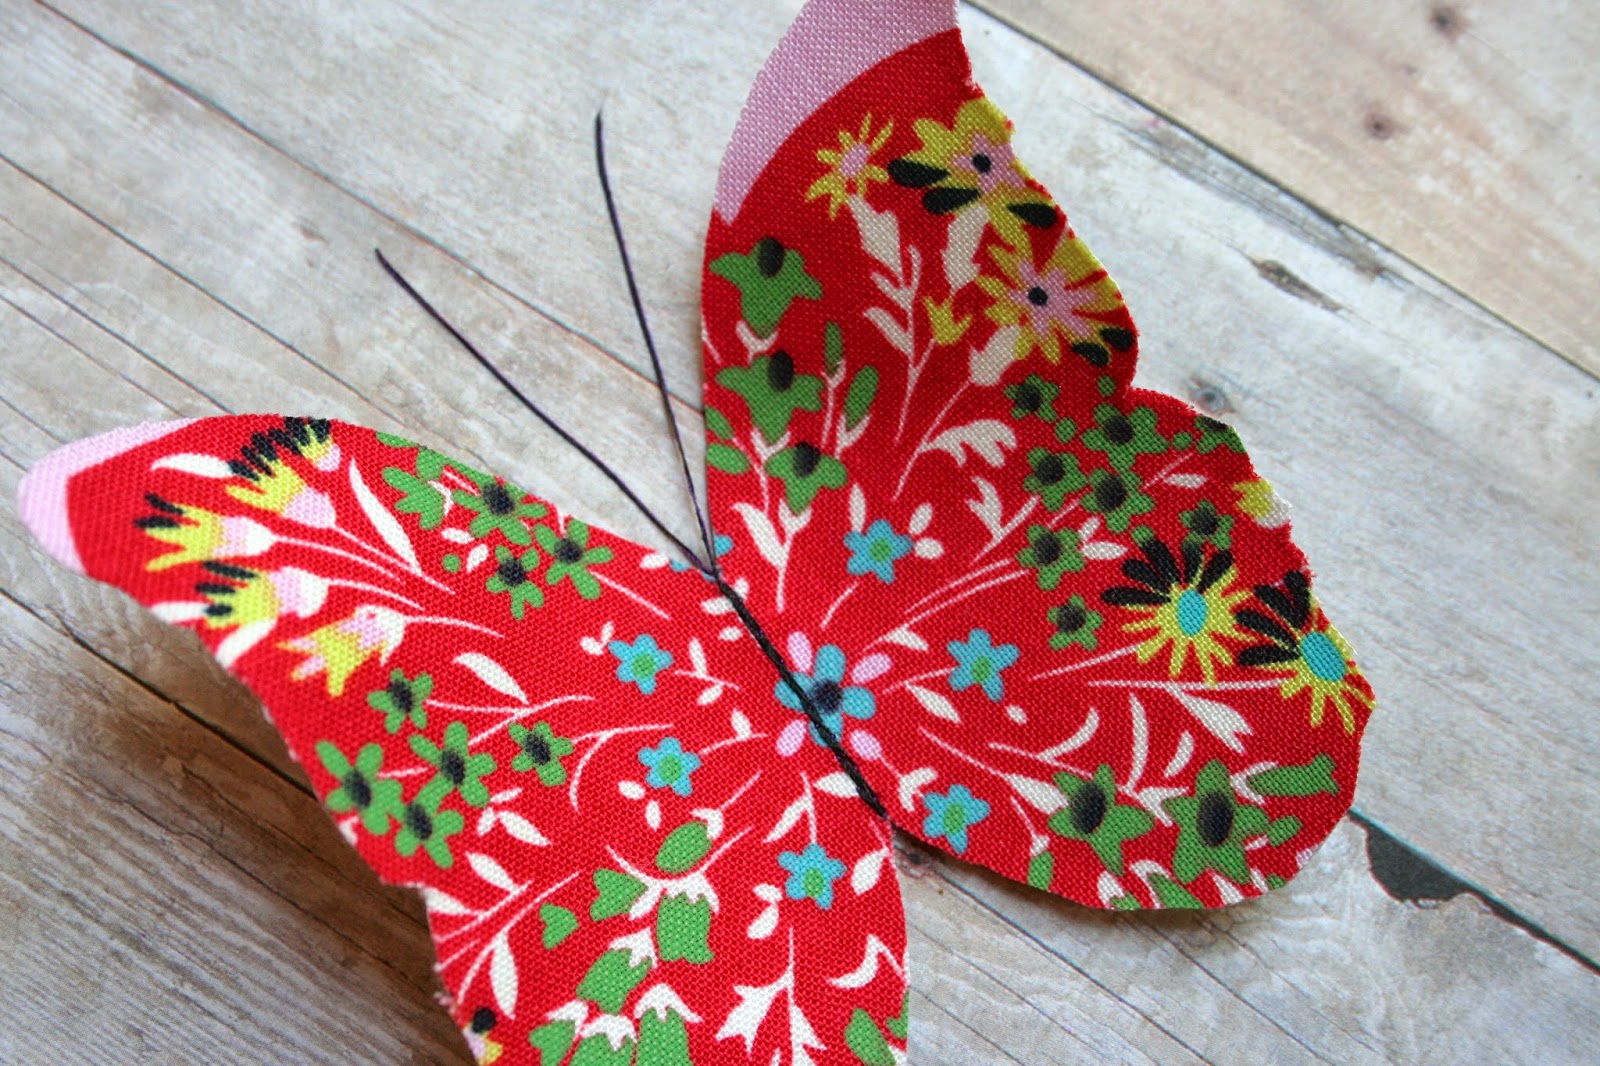
Place your fabric scrap on top of the Mod Podge surface
Flip it and rub the back to make sure it is adhering. Then flip and rub out to smooth the fabric.
Let the butterfly dry for about an hour, trim off the excess fabric and then using a longer stitch sew down the center two or three times. On my Bernina I used a 3.3 length.
After you have sewn the middle you will have threads hanging off the ends.
You can either flip them under and trim or flip them from the bottom to the top and use them as the antennae. For Sara's boxes I trimmed them for the Amy Butler butterfly, I just wiped the thread with some Mod Podge that was left on the brush and secured them down to the paper.
The wings will hold a shape without feeling too stiff. Since there is no Mod Podge on the front it does not compromise the look of the fabric in any way. So now is the time to play with how you want your winds to look. Just bend the tips a bit and you should be good to go!
In the shadow box they have these sticky bits. Put them on the back of your butterfly and secure it on the background paper.
The lettering for mine was a gift from Luke Haynes and just happened to come the day before I decided to do this project. You can use something like this with some ink or if you have lovely handwriting ( I do not) you can add a personal touch that way too :o)
These are two of the boxes that were in the booth and honestly, the photos here do not do them justice.
I hope you enjoy this project and if you have any questions please shoot me an email!


7 comments
I love these! Such a great use for fabric scraps and there are so many possibilities! It would also be a great garland!
how pretty these are, making me think, I have been doing a RR and the one I have to add to is butterflies, all 9 that have been done are beautifully stitched far beyond what i can do, maybe this could work for me too
adorable..
These are really beautiful. I've a few shadow boxes sitting around wiating on a use so I'll definitely be giving these a go some time soon - they are going to make wonderful gifts.
Fun project and good way to show new fabric line.
These looked great, thanks for the tute :o)
Just came across your blog! I love these butterflies!! What a great idea and I'm going to make these!
Thanks for the tute!
Post a Comment